 "GPS Visualizer is a free, easy-to-use online utility that creates maps and profiles from GPS data (tracks and waypoints), street addresses, or simple coordinates. Use it to see where you've been, plan where you're going, or visualize geographic data."
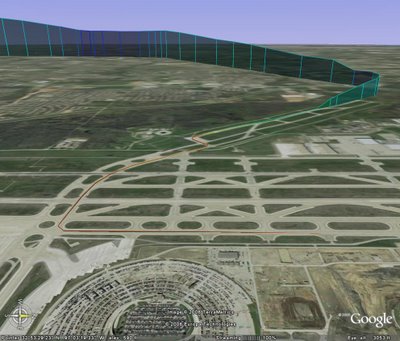
Out of all the geocaching-related mapping programs including the various Google Earth overlays, this simple online utility has by-far the most WOW factor. This short tutorial is designed to quickly help you take a simple GPX track file downloaded from your GPS to a fully interactive and color-coded map on Google Earth.
- Begin by downloading your own GPX track file from your GPSr or by using my sample file, here.
- Visit the GPS Visualizer Map page, http://www.gpsvisualizer.com/map.
- Change the first drop down box called "Output format:" to Google Earth and allow the page to switch you to the specialized Google Earth form.
- Change "Altitude mode:" to your preferred style. For my flight path example, I selected "Extruded."
- Change "Colorize by:" to your preferred style. For my flight path example, I selected "Speed." All other options on this page are completely optional and do not need to be changed from the defaults.
- In the right-hand column, click Browse and find your saved GPX track file.
- Click "Create KML file" button and view your results!

1 comment:
Hey, don't forget to mention that GPS Visualizer can also read .LOC files from Geocaching.com! :-)
Post a Comment